How to Create a Contact Form in HTML and CSS
A contact form requires/ needs to collect atleast three things a name, an email address, and a message. Instead of an email address you can collect a phone number or both.
Let us start building the contact form.
Creating a Contact Us Form in HTML
We are going to start with a basic HTML page.
<!DOCTYPE html>
<html>
<head>
<meta charset="utf-8">
<meta name="viewport" content="width=device-width">
<title>Contact Us Form</title>
</head>
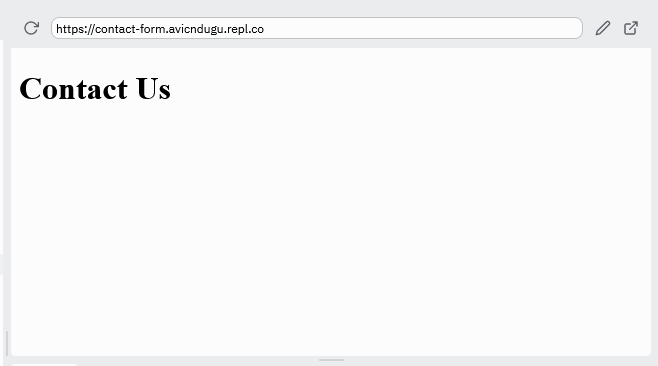
<body>
<h1>Contact Us</h1>
</body>
</html>
Name Text Box
You can start by creating a form item for the name. You are going to use <input/> HTML tag which creates a text box that occupies a single line.
<body>
  <h1>Contact Us</h1>
  <input name="readername" type="text" placeholder="Jane Smith"/>
</body>
Result
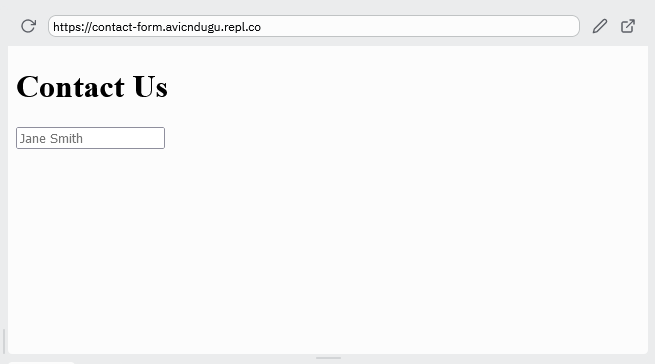
The name attribute should be unique for each input on the form.
The placeholder is used to display text suggestion of what you want the readers to fill in the textbox.
Email Text Box
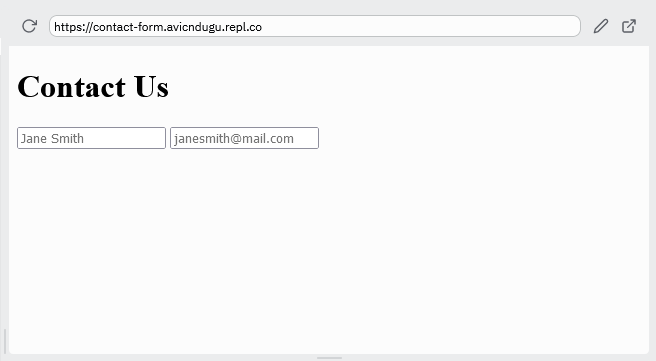
Next, you can make the email text box. Use the input html element, but this time change the type to email.
<body>
  <h1>Contact Us</h1>
  <input name="readername" type="text" placeholder="Jane Smith"/>
  <input name="readeremail" type="email" placeholder="janesmith@mail.com"/>
</body>
Result
Message Text Box
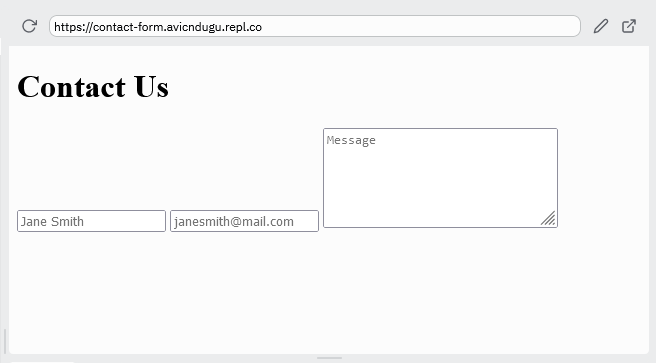
Next, create a text box for the message. You will use textarea that is meant for multiline text form boxes.
<body>
  <h1>Contact Us</h1>
  <input name="readername" type="text" placeholder="Jane Smith"/>
  <input name="readeremail" type="email" placeholder="janesmith@mail.com"/>
  <textarea name="message" rows="5" cols="30" placeholder="Message"></textarea>
</body>
Result
Submit Button
Once the reader completes filling the form, they need a way to send the data. The submit button allows them to send the data.
So, add the button.
<body>
  <h1>Contact Us</h1>
  <input name="readername" type="text" placeholder="Jane Smith"/>
  <input name="readeremail" type="email" placeholder="janesmith@mail.com"/>
  <textarea name="message" rows="5" cols="30" placeholder="Message"></textarea>
  <button type="submit">Send Message</button>
</body>
Result
When you press the button, nothing happens. You first need to wrap the form elements in a container.
Form Container
When you are creating a form in HTML, you need to put it inside <form></form> HTML tags. So, wrap all your form elements with the form tags.
<body>
  <h1>Contact Us</h1>
  <form>
    <input name="readername" type="text" placeholder="Jane Smith" />
    <input name="readeremail" type="email" placeholder="janesmith@mail.com" />
    <textarea required>

    </textarea>
    <button type="submit">Send Message</button>
  </form>
</body>
A form needs two attributes: a method and action.
When sending forms content, there are two methods you can use. The get method and the post method. The post method is more secure compared to the get method.
You also need to setup where the form will submit the data. The action attribute tells your contact form where to send the data.
So lets add them.
<body>
  <form method="post" action="/contact-form-data/">
    <input name="readername" type="text" placeholder="Jane Smith" />
    <input name="readeremail" type="email" placeholder="janesmith@mail.com" />
    <textarea name="message" rows="5" cols="30" placeholder="Message"></textarea>
    <button type="submit">Send Message</button>
  </form>
</body>
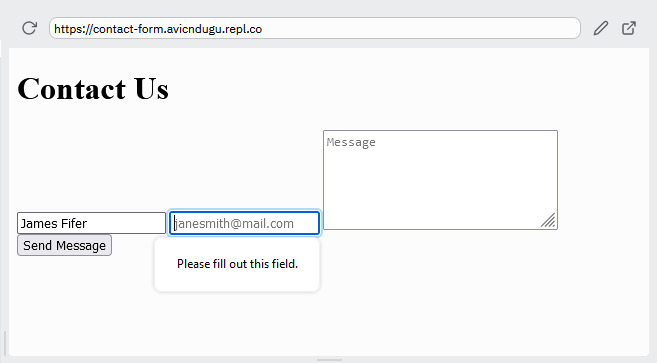
If you press the button, the form will submit the form data even if all the textboxes are empty.
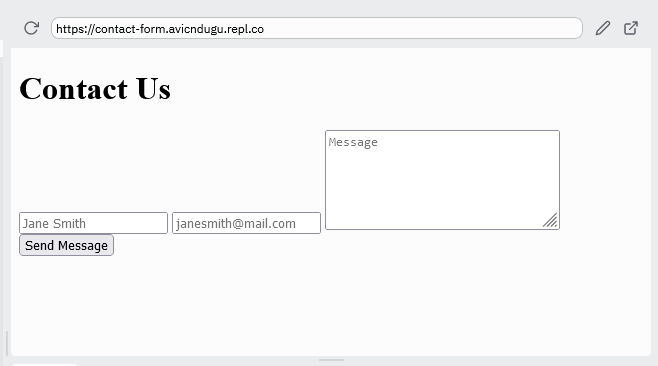
To make filling the textboxes mandatory before a form can submit data, use the required attribute on the input and textarea elements.
<body>
  <h1>Contact Us</h1>
  <form method="post" action="/contact-form-data/">
    <input name="readername" type="text" placeholder="Jane Smith" required/>
    <input name="readeremail" type="email" placeholder="janesmith@mail.com" required/>
    <textarea name="message" rows="5" cols="30" placeholder="Message" required></textarea>
    <button type="submit">Send Message</button>
  </form>
</body>
Result
Bonus: Styling a Contact Form Using CSS
You can make your form look great by using CSS. Look at some of the form templates for some ideas.
You are designing your form with style similar to this design.

Start by adjusting the size of text on the form.
input, textarea, button {
  font-size: 1.4rem;
}
Then, add some padding.
input, textarea, button {
  font-size: 1.4rem;
  padding: 10px;
}
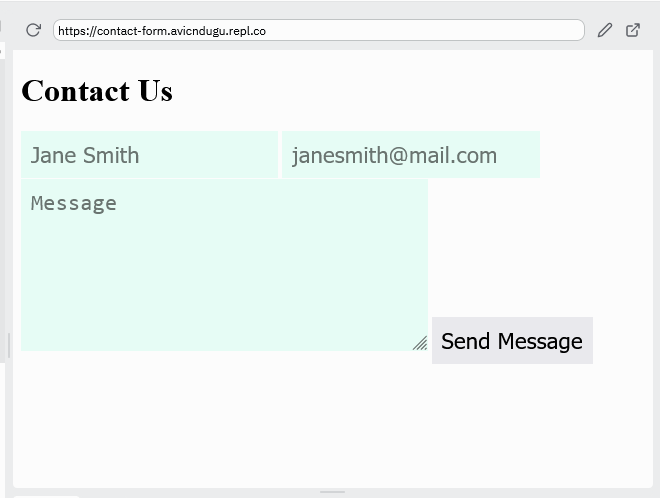
Then remove the border on all the form items. Then add a background color to the input and textarea.
input, textarea, button {
  font-size: 1.4rem;
  padding: 10px;
  border: none;
}

input, textarea {
  background-color: #ccc;
}
Result
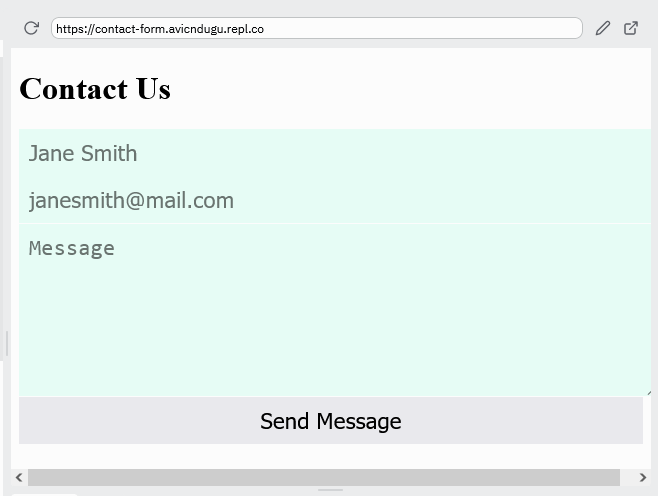
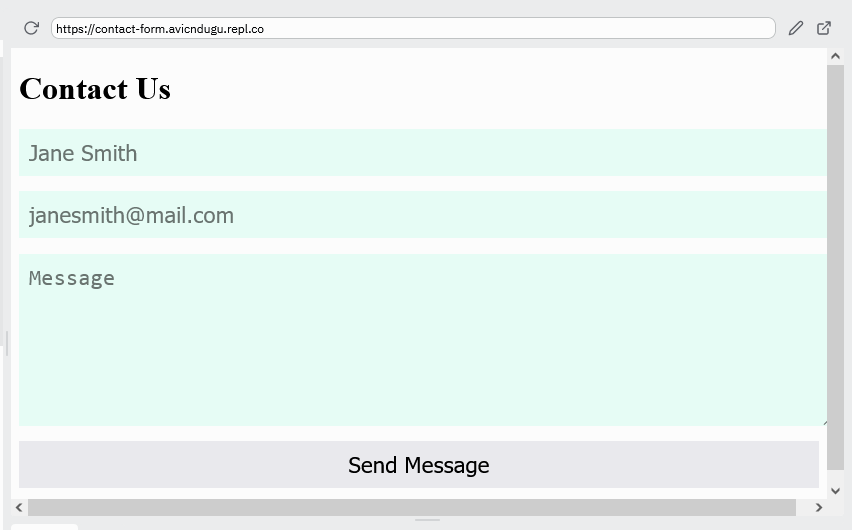
Then, making sure that each item on the form occupies its own line.
input, textarea, button {
  width: 100%;
}
Result
Add spacing between the form items.
input, textarea, button {
  margin-bottom: 15px;
}
Result
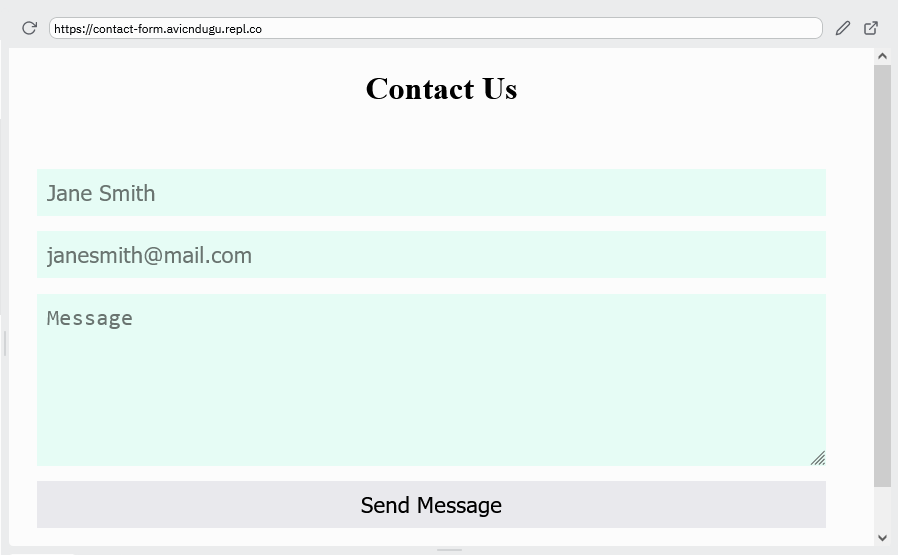
Now add spacing around the form. Correct the form spacing to be equal on all sides.
form {
  margin-left: -20px;
  padding: 40px;
}
The form looks great on small screens like smartphones. To make the form look good on desktop use media queries. Add a div to cover the whole form.
<body>
<div>
  <h1>.....
  ......
  </form>
  <div>
</body>
@media(min-width: 48em) {
  div {
    max-width: 850px;
  }
}
Then, center the form.
@media(min-width: 48em) {
  div {
    max-width: 850px;
    margin-left: auto;
    margin-right: auto;
  }
}
Result
You will note that the button appears to be shorter than the input elements. Add box-sizing property to sort out the problem.
input, textarea, button {
  width: 100%;
  font-size: 1.4rem;
  margin-bottom: 15px;
  padding: 10px;
  border: none;
  box-sizing: border-box;
}
Also center the heading on the contact us page.
h1 {
  text-align: center;
}
