Learn HTML For Beginners With Examples: Practical Guide
In this beginner-friendly guide your will learn the basics of HTML through a hands-on and practical approach. This guide is tailored for anyone with interest in learning HTML and how it contribute to the world of websites. No previous coding knowledge required.
Outline
- What is HTML?
- Tools For Working With HTML
- Create First HTML file
- HTML tags and Elements
- Headings and Paragraphs
- Text formatting
- Creating Lists
- Links and Anchors
- Working with Images
- Creating Forms
- HTML5 Semantic Elements
- HTML File Template
- Common HTML Mistakes to Avoid
- Additional Resources
1. What is HTML?
HTML, which stands for Hypertext Markup Language. HTML is the language that allows us to display content(text, links, pictures, sounds and videos) on a website. Every time you interact with a website by reading, listening or watching something, you should know that HTML is involved.
HTML was created by Tim Berners-Lee to only display text documents with links. It has evolved into something much better. With HTML, you can show, images, videos, audio clips and many more things.
Tools For Working With HTML
As you start learning HTML, you’ll need some tools to create and test your web pages created with HTML. Here are a few simple and user-friendly tools to get you started:
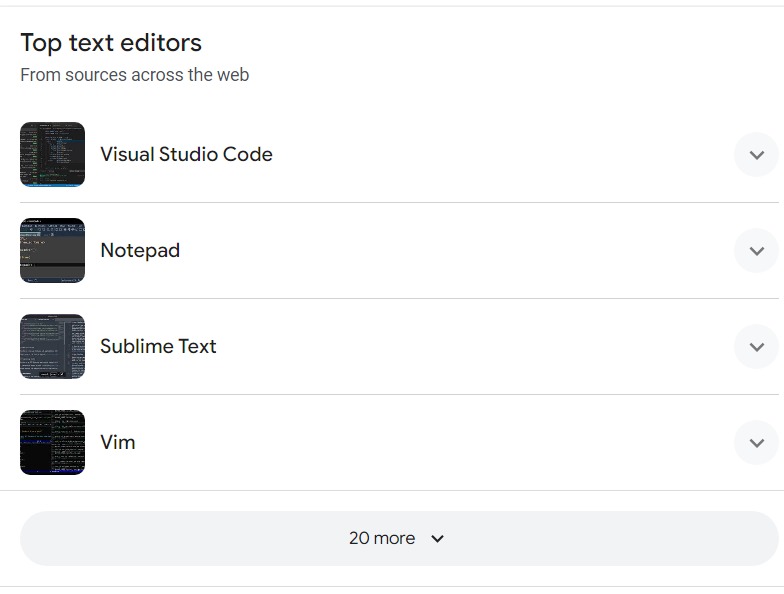
a. Text Editors: For Writing HTML
To get started with HTML, you’ll need to use an app to write and save HTML code. You can use common text editors(apps) like Notepad (on Windows), TextEdit (on macOS), or VSCode, Sublime Text, and many more. These editors help you write and save your HTML code.
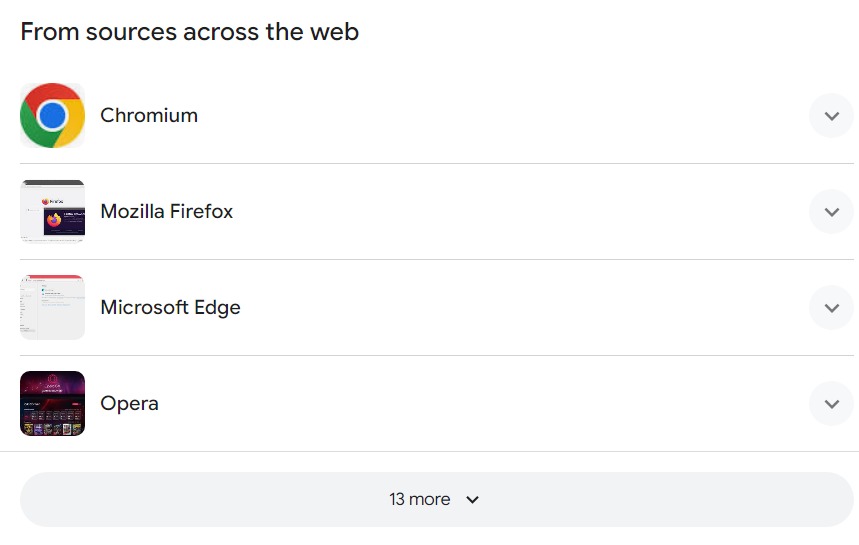
b. Web Browsers for Viewing Web Pages
After you’ve written your HTML code, you will want to test it to make sure it works. You will need another app, a web browser to test and view your HTML code.
Common web browsers include: Google Chrome, Mozilla Firefox, and Microsoft Edge. These browsers will allow you to test your HTML web pages as you build them.
3. Creating and Testing Your First HTML Code
Now that you have the tools in place, let’s dive into creating your writing HTML code. You will start by creating a HTML file, then adding the code and finally test it. So:
a. Open your text editor.
b. Copy the HTML code below and paste it into your your text editor.
<!DOCTYPE html>
<html>
  <head>
    <title>Your Page Title</title>
  </head>
  <body>
    Hello World
  </body>
</html>
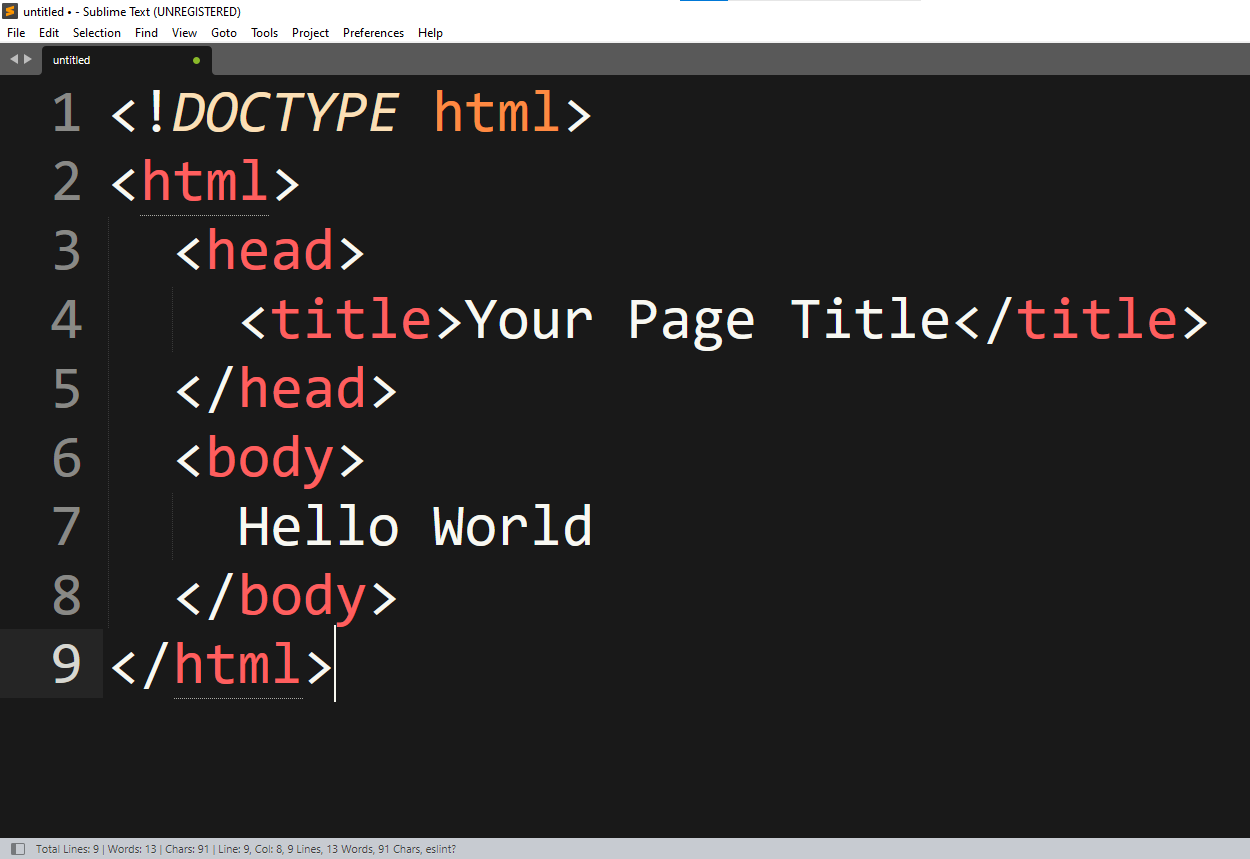
Every HTML page starts with a <!DOCTYPE> declaration to specify the version of HTML you’re using.
Then, everything is wrapped between the <html></html> tags. Inside that, you’ll find two sections. The:
<head></head>section, which contains metadata. You’ll learn more about metadata later.<body></body>section, where your visible content goes.
c. Save your file with an appropriate name and the “.html” extension. For example, “first.html” or “index.html”.
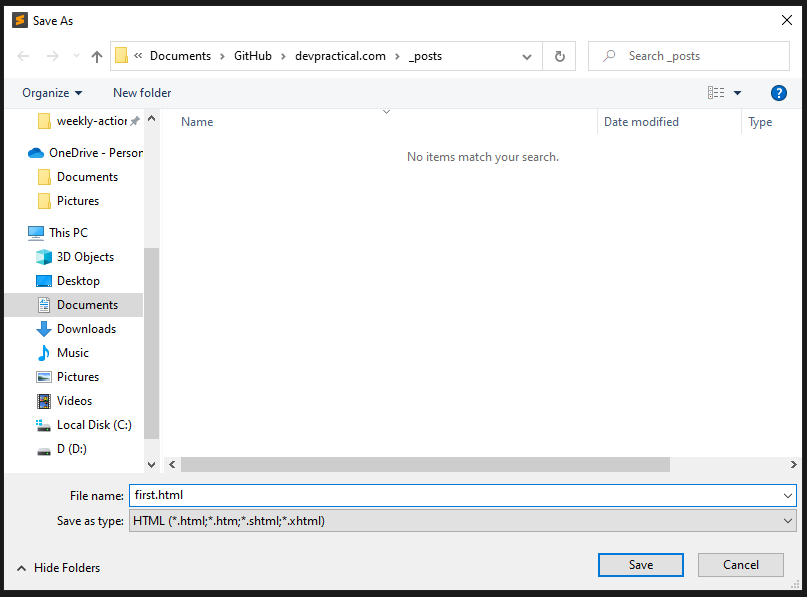
d. Ensure that the file type is set to “All Files” or “.html” when saving to avoid any issues.
e. Navigate to the folder where you saved your HTML file.
f. Right-click on your HTML file, choose “Open With,” and select your preferred web browser (e.g., Google Chrome, Firefox).
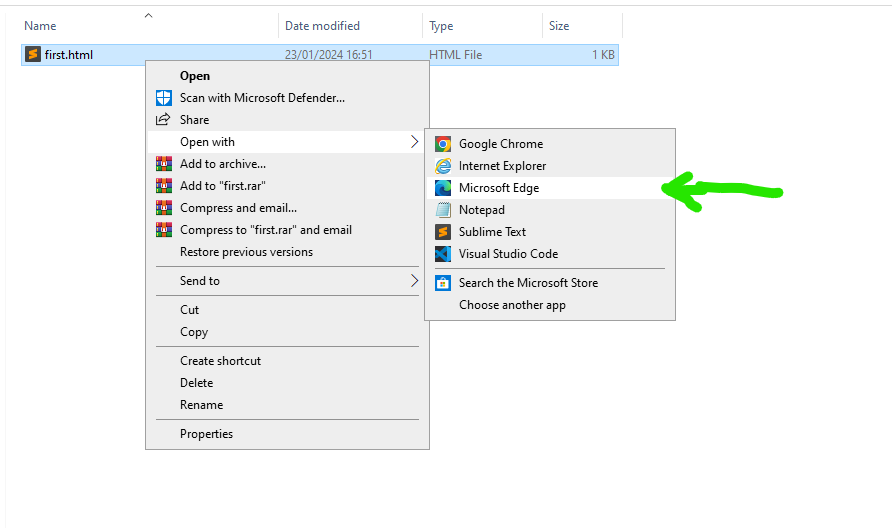
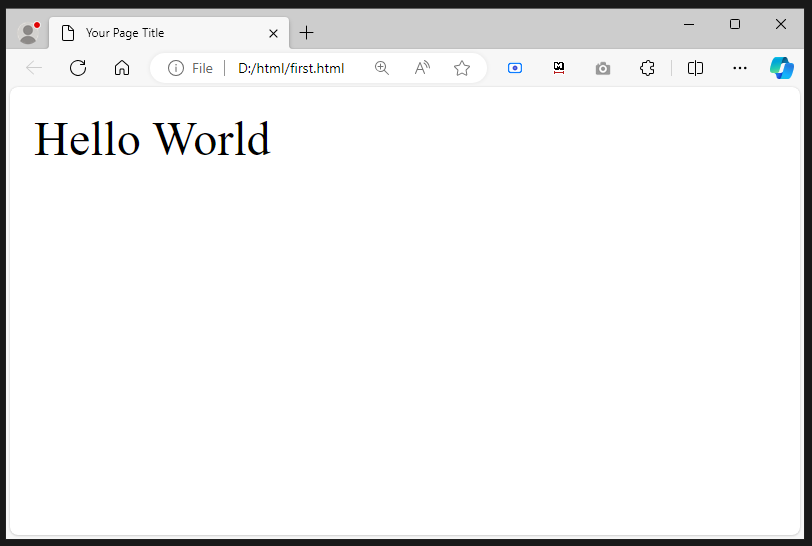
g. Your browser will open, displaying your simple HTML webpage. Congratulations on creating your first HTML file!
4. HTML Tags and Elements
When you start working with HTML, two essential concepts to grasp are tags and elements. Let’s break down these concepts in a beginner-friendly way:
a. HTML Tags:
Think of tags as instructions that tell the browser how to display content.
Tags are written with angle brackets, like this: <tag>.
Most tags come in pairs: an opening tag, like <tag>, and a closing tag, like </tag>. For example, <p> is the opening tag for a paragraph, and </p> is the closing tag. Some tags don’t have closing tags like <br>.
Check the comprehensive list of HTML tags
b. HTML Elements:
An element is made up of a pair of tags, an opening tag <tag>, a closing tag </tag> and content that you put between these two tags. For example: <p>This is a paragraph</p> is a paragraph element.
5. Adding Headings and Paragraphs
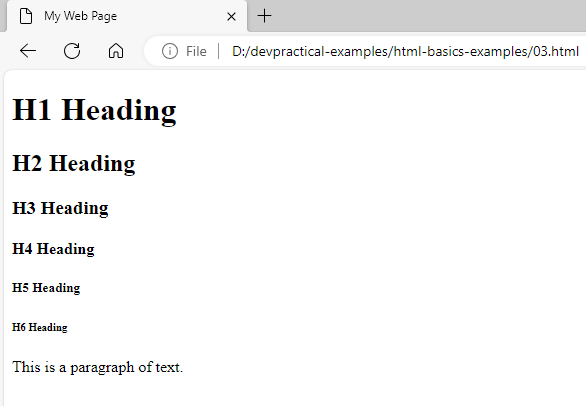
Headings are created using <h1> to <h6>, with <h1> being the largest and most important, and <h6> the smallest. They help structure your content.
Paragraphs are made with the <p> tag and are used to add paragraphs in HTML.
Example:
<h1>H1 Heading</h1>
<h2>H2 Heading</h2>
<h3>H3 Heading</h3>
<h4>H4 Heading</h4>
<h5>H5 Heading</h5>
<h6>H6 Heading</h6>
<p>This is a paragraph of text.</p>
4. Text Formatting
Formatting with Bold and Italic
You can make text bold using the <b> tag for bold and the <i> tag for italic.
For example:
<p>This is <b>bold</b> and <i>italic</i> text.</p>
Underlining Text
If you want to underline text, use the <u> tag. Here’s how:
<p>This text is <u>underlined</u>.</p>
Line Breaks and Horizontal Rules
To create line breaks within a paragraph, use the <br> tag. It’s handy for poetry or addresses.
<p>This<br>text<br>is<br>broken<br>down.</p>
For horizontal lines to separate content, employ the <hr> tag:
<p>Content above</p>
<hr>
<p>Content below</p>
5. Creating Lists
Ordered Lists
To create a numbered list of items, use ordered list. Ordered lists are used for items that have a specific sequence. Use the <ol> tag for the list container and <li> tags for list items. For instance:
<ol>
  <li>First item</li>
  <li>Second item</li>
  <li>Third item</li>
</ol>
Unordered Lists
Unordered lists are for items without a particular order. They’re created using the <ul> tag and <li> tags for list items:
<ul>
  <li>Apples</li>
  <li>Bananas</li>
  <li>Oranges</li>
</ul>
Definition Lists
Definition lists pair terms with their definitions. You use the <dl> tag to create the list, <dt> for terms, and <dd> for definitions:
<dl>
  <dt>HTML</dt>
  <dd>Hypertext Markup Language</dd>
  <dt>CSS</dt>
  <dd>Cascading Style Sheets</dd>
</dl>
8. Links
Hyperlinks are essential for navigation. To create one, use the <a> (anchor) tag. Here’s how to link to an external webpage:
<a href="https://www.example.com">Visit Example.com</a>
9. Working with Images
Adding Images
Images are integral to web design. To include an image in your HTML page, use the <img> tag with the src attribute pointing to the image file:
<img src="https://placehold.co/600x400/004d36/f8f9fa/png?text=Hello+World&font=roboto" alt="A beautiful image">
Image Attributes
- The
srcattribute contains the path to the image. - The
altattribute is a brief description of the image, important for accessibility. - You can also adjust the image dimensions with the
widthandheightattributes.
<img src="https://placehold.co/600x400/004d36/f8f9fa/png?text=Hello+World&font=roboto" alt="A beautiful image" width="300" height="200">
10. HTML Forms
Forms are used to collect information from the users and sent it to a server(another computer).
Form Elements
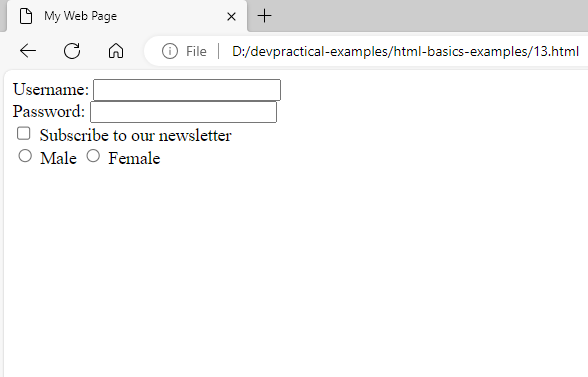
To create a form, use the <form> tag. Within the form, you can include various input elements, such as text fields, password fields, checkboxes, radio buttons, and more. Here’s an example:
<form>
  <label for="username">Username:</label>
  <input type="text" id="username" name="username">
  <br>

  <label for="password">Password:</label>
  <input type="password" id="password" name="password">
  <br>

  <input type="checkbox" id="subscribe" name="subscribe" value="yes">
  <label for="subscribe">Subscribe to our newsletter</label>
  <br>

  <input type="radio" id="male" name="gender" value="male">
  <label for="male">Male</label>
  <input type="radio" id="female" name="gender" value="female">
  <label for="female">Female</label>
</form>
Buttons and Submitting Forms
You can include buttons inside a form to trigger actions, and the most common one is the submit button. To create a submit button, use the <button> element or an <input> element with the type “submit.”
<form>
  <!-- Form elements here -->

  <button type="submit">Submit</button>
</form>
Handling form submissions often requires server-side programming or external services, which is a more advanced topic. But understanding the basic form structure is the first step.
11. HTML5 Semantic Elements
HTML5 introduces semantic elements that provide more meaning to the structure of your web page. They make your code more accessible and help search engines understand your content better.
Introduction to Semantic Elements
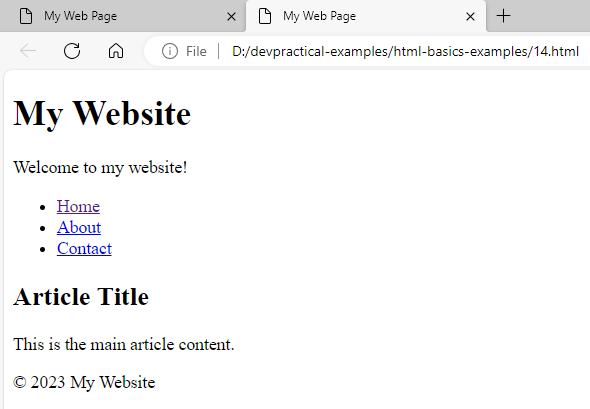
Semantic elements like <header>, <nav>, <article>, <section>, and <footer> add context to your content. For instance, you can use the <header> element for the page header, the <nav> element for navigation menus, and the <footer> element for the page’s footer. This not only makes your code cleaner but also benefits SEO and accessibility.
Here’s an example of how they can be used:
<header>
<h1>My Website</h1>
<p>Welcome to my website!</p>
</header>
<nav>
<ul>
<li><a href="/">Home</a></li>
<li><a href="/about">About</a></li>
<li><a href="/contact">Contact</a></li>
</ul>
</nav>
<article>
<h2>Article Title</h2>
<p>This is the main article content.</p>
</article>
<footer>
<p>© 2019 My Website</p>
</footer>
By incorporating these elements, you make your HTML more meaningful and user-friendly.
12. HTML File Template
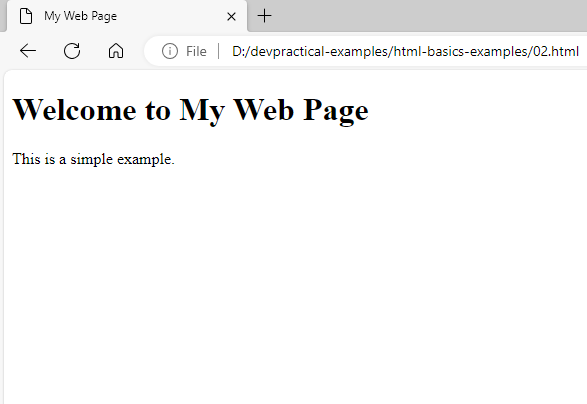
A well-structured HTML document begins with a <!DOCTYPE> declaration, indicating the HTML version. Then, it has an <html> element that encloses the entire document. Inside the <html>, you find two main sections:
- The
<head>section, where you add metadata like the page title, character encoding, and links to external resources. - The
<body>section, which contains the visible content of your web page.
Here’s a simplified example:
<!DOCTYPE html>
<html>
  <head>
    <title>My Web Page</title>
    <meta charset="UTF-8">
    <meta name="viewport" content="width=device-width, initial-scale=1.0">
    <!-- Other metadata here -->
  </head>
  <body>
    <h1>Welcome to My Web Page</h1>
    <p>This is a simple example.</p>
  </body>
</html>
13. Common HTML Mistakes to Avoid
Even the best of us make errors, and HTML is no exception. Here are some common mistakes to be aware of and avoid:
Unmatched Tags
One of the most common mistakes is forgetting to close tags properly. Every opening tag should have a corresponding closing tag, and they should be nested correctly.
Correct:
<p>This is some text.</p>
Incorrect:
<p>This is some text.
Invalid Nesting
Ensure that your tags are nested correctly. Opening and closing tags should match up in the right order.
Correct:
<div>
  <p>Paragraph inside a div.</p>
</div>
Incorrect:
<div>
  <p>Paragraph inside a div.</div></p>
Forgetting to Close Tags
Don’t forget to close your tags, even if modern browsers may handle it. Clean code is essential for reliability and maintainability.
Correct:
<p>This is a sentence.</p>
Incorrect:
<p>This is a sentence.
By being mindful of these common pitfalls, you’ll produce clean and reliable HTML code.
14. Additional Resources
To continue your learning, here are some resources you might find helpful:
-
W3Schools HTML Tutorial: A comprehensive resource with interactive examples.
-
MDN Web Docs - HTML: In-depth documentation by Mozilla.
-
Codecademy HTML Course: Interactive lessons and exercises.
-
FreeCodeCamp HTML and HTML5: A free and community-driven platform for learning web development.
Thank you for taking the time to learn HTML from me. I hope this article has been a valuable starting point for your web development journey. Happy coding!
