How to Create Simple Web Page Design in HTML and CSS
Start with the HTML starter template.
<!DOCTYPE html>
<html>
<head>
  <meta charset="utf-8">
  <meta name="viewport" content="width=device-width">
  <title>Simple HTML CSS Webpage</title>
</head>
<body>
  Hello world
</body>
</html>
Results
Add the HTML content: the heading, paragraphs, images and links between the body tags.
<body>
<h1>Flying Toys For Beginners Adults and Children [Complete Guide]</h1>
  <p>
    Both adults and children are fascinated by things that fly. Toys are an exciting way to explore, interact and understand how things fly.
  </p>

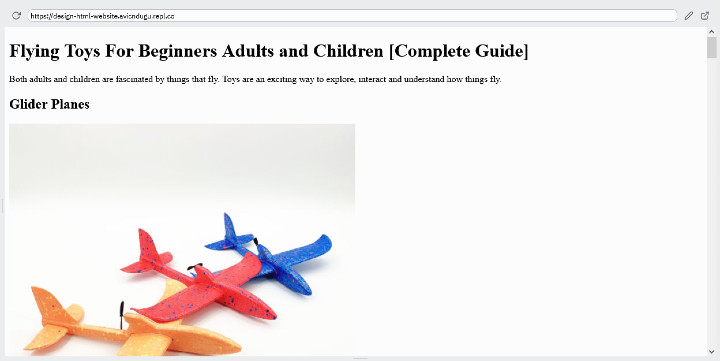
  <h2>Glider Planes</h2>
  <img src="images/glider-flying-toys.jpg">
  <p>
    Lorem ipsum dolor sit amet, consectetur adipisicing elit, sed do eiusmod tempor incididunt ut labore et dolore magna aliqua. Ut enim ad minim veniam, quis nostrud exercitation ullamco laboris nisi ut aliquip ex ea commodo consequat. Duis aute irure dolor in reprehenderit in voluptate velit esse cillum dolore eu fugiat nulla pariatur. Excepteur sint occaecat cupidatat non proident, <a href="https://en.wikipedia.org/wiki/Radio-controlled_glider">sunt in culpa qui officia</a> deserunt mollit anim id est laborum.
  </p>

  <h2>Rockets</h2>
  <img src="images/stomp-rocket.png">
  <p>
    Lorem ipsum dolor sit amet, consectetur adipisicing elit, sed do eiusmod tempor incididunt ut labore et dolore magna aliqua. Ut enim ad minim veniam, quis nostrud exercitation ullamco laboris nisi ut aliquip ex ea commodo consequat. <a href="https://en.wikipedia.org/wiki/Radio-controlled_glider">Duis aute irure dolor in reprehenderit</a> in voluptate velit esse cillum dolore eu fugiat nulla pariatur. Excepteur sint occaecat cupidatat non proident, sunt in culpa qui officia deserunt mollit anim id est laborum.
  </p>

  <h2>Frisbee</h2>
  <img src="images/frisbee-toy.jpg">
  <p>
    Lorem ipsum dolor sit amet, consectetur adipisicing elit, sed do eiusmod tempor incididunt ut labore et dolore magna aliqua. Ut enim <a href="https://en.wikipedia.org/wiki/Radio-controlled_glider">ad minim veniam</a>, quis nostrud exercitation ullamco laboris nisi ut aliquip ex ea commodo consequat. Duis aute irure dolor in reprehenderit in voluptate velit esse cillum dolore eu fugiat nulla pariatur. Excepteur sint occaecat cupidatat non proident, sunt in culpa qui officia deserunt mollit anim id est laborum.
  </p>

  <h2>Drones</h2>
  <img src="images/drone-toy.jpg">
  <p>
    Lorem ipsum dolor sit amet, consectetur adipisicing elit, sed do eiusmod tempor <a href="https://en.wikipedia.org/wiki/Radio-controlled_glider">incididunt ut labore et</a> dolore magna aliqua. Ut enim ad minim veniam, quis nostrud exercitation ullamco laboris nisi ut aliquip ex ea commodo consequat. Duis aute irure dolor in reprehenderit in voluptate velit esse cillum dolore eu fugiat nulla pariatur. Excepteur sint occaecat cupidatat non proident, sunt in culpa qui officia deserunt mollit anim id est laborum.
  </p>

  <h3>UFO Drone Toy</h3>
  <img src="images/flying-ufo.jpg">
  <p>
    Lorem ipsum dolor sit amet, consectetur adipisicing elit, sed do eiusmod tempor incididunt ut labore et dolore magna aliqua. Ut enim ad minim veniam, quis nostrud exercitation ullamco laboris nisi ut aliquip ex ea commodo consequat. Duis aute irure dolor in reprehenderit in voluptate velit esse cillum dolore eu fugiat nulla pariatur. Excepteur sint <a href="https://en.wikipedia.org/wiki/Radio-controlled_glider">occaecat cupidatat non proident</a>, sunt in culpa qui officia deserunt mollit anim id est laborum.
  </p>

  <h2>Remote Controlled(RC) Planes</h2>
  <img src="images/rc-plane.jpg">
  <p>
    Lorem ipsum dolor sit amet, consectetur adipisicing elit, sed do eiusmod tempor incididunt ut labore et dolore magna aliqua. Ut enim ad minim veniam, quis nostrud exercitation <a href="https://en.wikipedia.org/wiki/Radio-controlled_glider">ullamco laboris nisi</a> ut aliquip ex ea commodo consequat. Duis aute irure dolor in reprehenderit in voluptate velit esse cillum dolore eu fugiat nulla pariatur. Excepteur sint occaecat cupidatat non proident, sunt in culpa qui officia deserunt mollit anim id est laborum.
  </p>

  <h2>Remote Controlled(RC) Helicopters</h2>
  <img src="images/rc-helicopter.jpg">
  <p>
    Lorem ipsum dolor sit amet, <a href="https://en.wikipedia.org/wiki/Radio-controlled_glider">consectetur adipisicing elit</a>, sed do eiusmod tempor incididunt ut labore et dolore magna aliqua. Ut enim ad minim veniam, quis nostrud exercitation ullamco laboris nisi ut aliquip ex ea commodo consequat. Duis aute irure dolor in reprehenderit in voluptate velit esse cillum dolore eu fugiat nulla pariatur. Excepteur sint occaecat cupidatat non proident, sunt in culpa qui officia deserunt mollit anim id est laborum.
  </p>

  <h2>Boomerang</h2>
  <img src="images/boomerang-toy.jpg">
  <p>
    Lorem ipsum dolor sit amet, consectetur adipisicing elit, sed do eiusmod tempor incididunt ut labore et dolore magna aliqua. Ut enim ad minim veniam, quis nostrud exercitation ullamco laboris nisi ut aliquip ex ea commodo consequat. Duis aute irure dolor in reprehenderit in voluptate velit esse cillum dolore eu fugiat nulla pariatur. Excepteur sint occaecat cupidatat non proident, sunt in culpa qui officia deserunt <a href="https://en.wikipedia.org/wiki/Radio-controlled_glider">mollit anim id est laborum</a>.
  </p>
</body>
Results
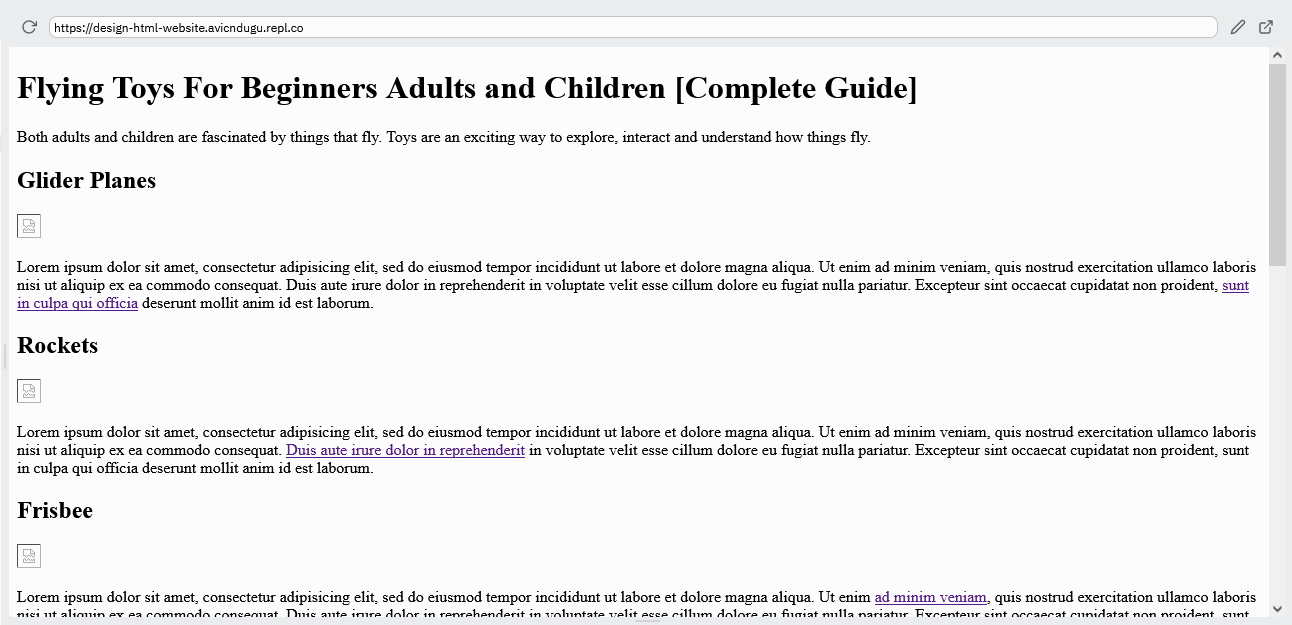
You will note that the images are not displayed on the web page. We need to add them first.
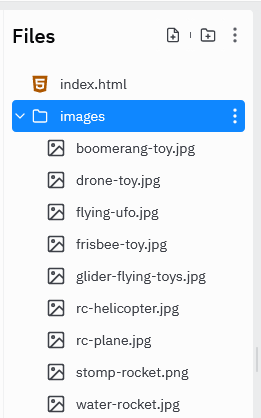
Create an folder named images. Then, add all your images there.
Results
Link the CSS file to your HTML page by using the link tag in the head section of your HTML web page.
<head>

  <link href="style.css" rel="stylesheet" type="text/css" />
</head>
Now, you can start styling the web page.
Default Styles For Web page Design
The first is to set the default font for the whole website.
We will set the font and font size.
Start with setting the default font size and throw in some firefox specific font styles to make the fonts work better on firefox.
html {
  font-size: 18px;
  -webkit-font-smoothing: antialiased;
  -moz-osx-font-smoothing: grayscale;
}
Results
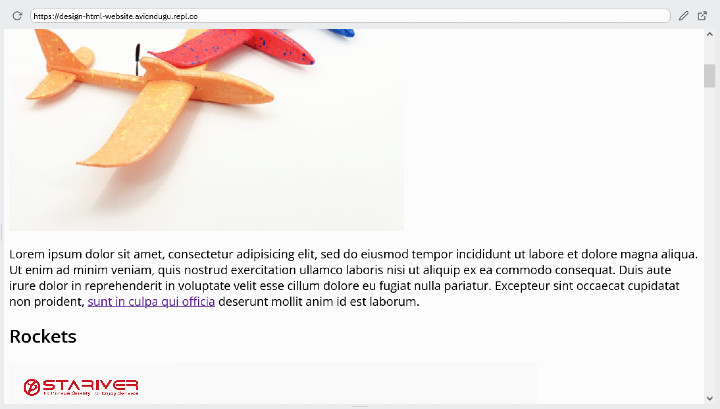
Then, head over to Google fonts and choose a font you like. For the purpose of this tutorial, I have choosen the font Open Sans.
Then, you have to copy and add the HTML code to the head section of the web page.
<link rel="preconnect" href="https://fonts.gstatic.com" crossorigin>
<link href="https://fonts.googleapis.com/css2?family=Open+Sans&display=swap" rel="stylesheet">
Alternatively, you can add the font using the import CSS rule. Copy the CSS code and paste it a the top of your CSS file.
@import url('https://fonts.googleapis.com/css2?family=Open+Sans&display=swap');
Then, you can now add the Open Sans font to your web page using font-family CSS property.
html {
  font-family: 'Open Sans', sans-serif;
  font-size: 18px;
  -webkit-font-smoothing: antialiased;
  -moz-osx-font-smoothing: grayscale;
}
Results
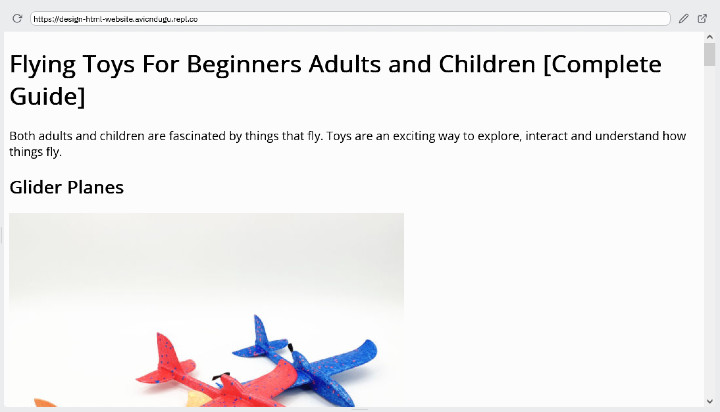
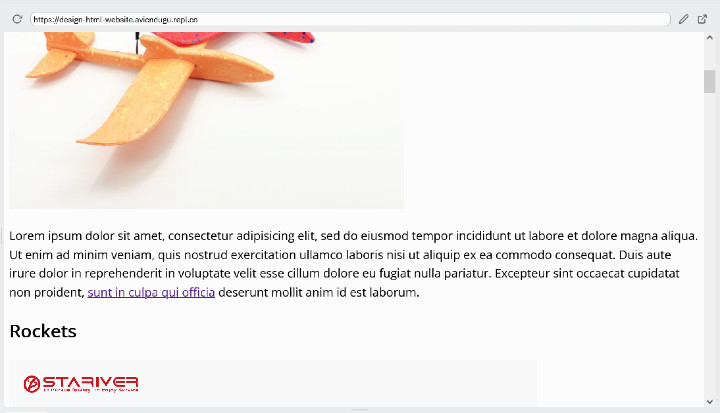
If you look at the paragraphs text, the lines seems a bit clumped together. We can add some breathing space using line height CSS property.
html {
  font-family: 'Open Sans', sans-serif;
  font-size: 18px;
  line-height: 1.6;
  -webkit-font-smoothing: antialiased;
  -moz-osx-font-smoothing: grayscale;
}
Results
Styling Text for Simple Web Page Design
Then you can proceed to style the text for heading, paragraphs and links.
You can start with the font-size.
For headings, you want a bigger font size for h1 and smaller size for h2 all the way to h6.
h1 {
  font-size: 2rem;
}

h2, h3, h4, h5, h6 {
  font-size: 1.7rem;
}
Results
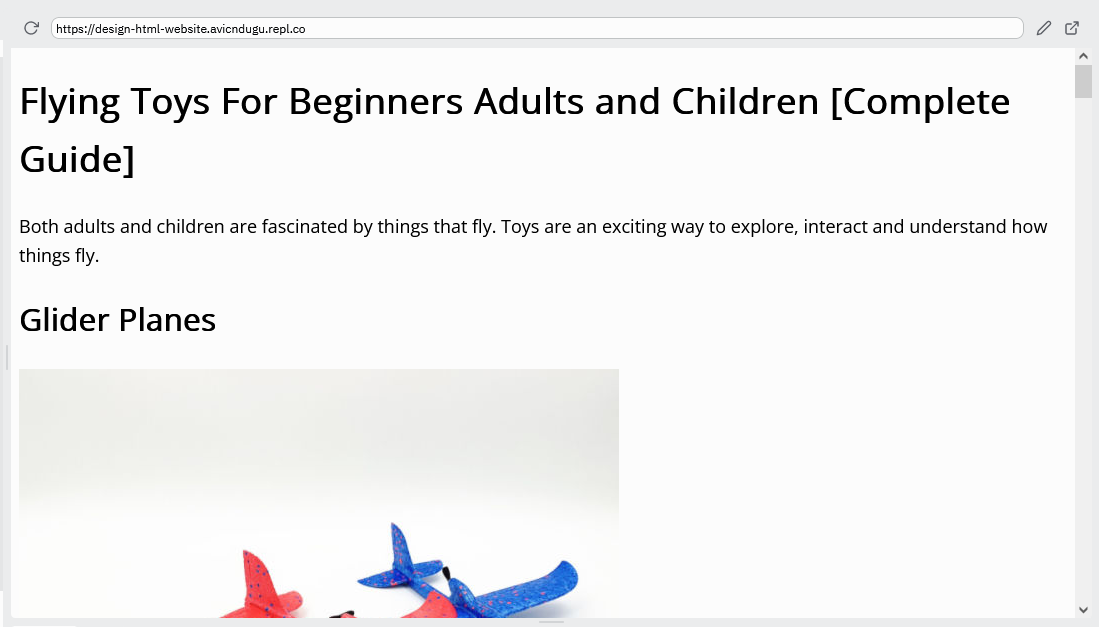
Paragraphs and links don’t need adjusting of the font size. They can inherit the default font size of the web page.
Create Cards for Simple Web Page Design
You are going to create a container for each type of flying toy. Each container will have a subheading, and image and a paragraph of text.
Then, give the div a class of card.
HTML Code
<div class="card">
  <h2>Glider Planes</h2>
  <img src="images/glider-flying-toys.jpg">
  <p>
    Lorem ipsum dolor sit amet, consectetur adipisicing elit, sed do eiusmod tempor incididunt ut labore et dolore magna aliqua. Ut enim ad minim veniam, quis nostrud exercitation ullamco laboris nisi ut aliquip ex ea commodo consequat. Duis aute irure dolor in reprehenderit in voluptate velit esse cillum dolore eu fugiat nulla pariatur. Excepteur sint occaecat cupidatat non proident, <a href="https://en.wikipedia.org/wiki/Radio-controlled_glider">sunt in culpa qui officia</a> deserunt mollit anim id est laborum.
  </p>
</div>
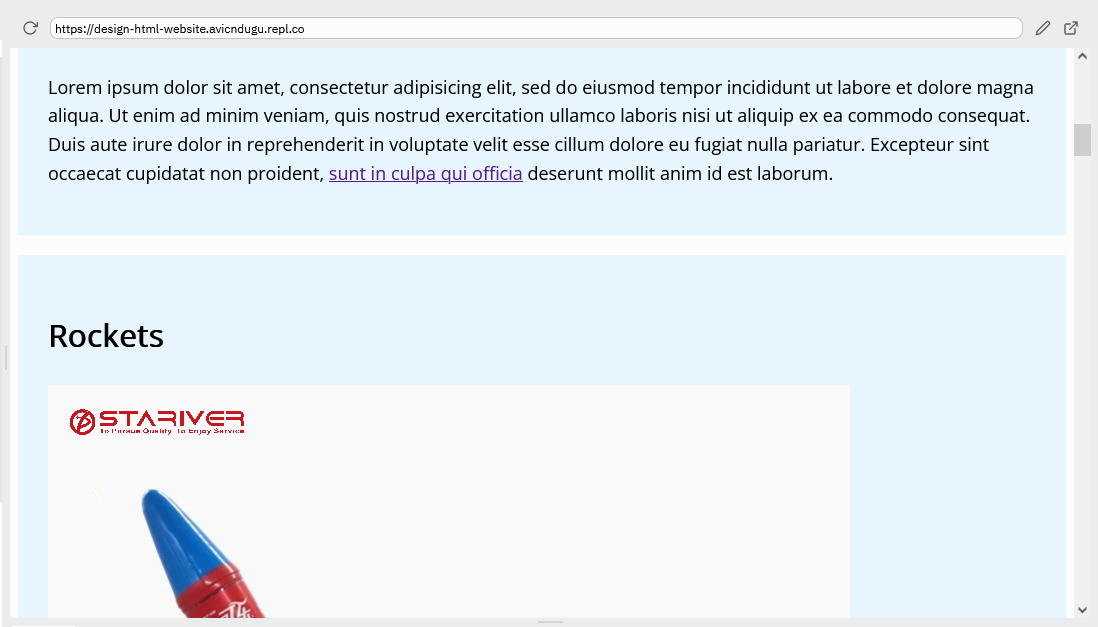
Then, you need to style the card.
CSS Code
.card {
  background-color:#e7f5ff;
  padding: 30px;
  margin-bottom: 20px;
}
Results
Add Rows and Columns to Simple Web Page Design
Next, you are going to create rows to hold the card components. On mobile the each row will only have one card. But on bigger screens like desktops and tablets, you will have two cards appearing on each row.
Lets start by creating the rows in HTML.
<div class="row">
  <div class="card">
    <h2>Glider Planes</h2>
    <img src="images/glider-flying-toys.jpg">
    <p>
      Lorem ipsum dolor sit amet, consectetur adipisicing elit, sed do eiusmod tempor incididunt ut labore et dolore magna aliqua. Ut enim ad minim veniam, quis nostrud exercitation ullamco laboris nisi ut aliquip ex ea commodo consequat. Duis aute irure dolor in reprehenderit in voluptate velit esse cillum dolore eu fugiat nulla pariatur. Excepteur sint occaecat cupidatat non proident, <a href="https://en.wikipedia.org/wiki/Radio-controlled_glider">sunt in culpa qui officia</a> deserunt mollit anim id est laborum.
    </p>
  </div>
  <div class="card">
    <h2>Rockets</h2>
    <img src="images/stomp-rocket.png">
    <p>
      Lorem ipsum dolor sit amet, consectetur adipisicing elit, sed do eiusmod tempor incididunt ut labore et dolore magna aliqua. Ut enim ad minim veniam, quis nostrud exercitation ullamco laboris nisi ut aliquip ex ea commodo consequat. <a href="https://en.wikipedia.org/wiki/Radio-controlled_glider">Duis aute irure dolor in reprehenderit</a> in voluptate velit esse cillum dolore eu fugiat nulla pariatur. Excepteur sint occaecat cupidatat non proident, sunt in culpa qui officia deserunt mollit anim id est laborum.
    </p>
  </div>
</div>
<div class="row">
  <div class="card">
    <h2>Frisbee</h2>
    <img src="images/frisbee-toy.jpg">
    <p>
      Lorem ipsum dolor sit amet, consectetur adipisicing elit, sed do eiusmod tempor incididunt ut labore et dolore magna aliqua. Ut enim <a href="https://en.wikipedia.org/wiki/Radio-controlled_glider">ad minim veniam</a>, quis nostrud exercitation ullamco laboris nisi ut aliquip ex ea commodo consequat. Duis aute irure dolor in reprehenderit in voluptate velit esse cillum dolore eu fugiat nulla pariatur. Excepteur sint occaecat cupidatat non proident, sunt in culpa qui officia deserunt mollit anim id est laborum.
    </p>
  </div>
  <div class="card">
    <h2>Drones</h2>
    <img src="images/drone-toy.jpg">
    <p>
      Lorem ipsum dolor sit amet, consectetur adipisicing elit, sed do eiusmod tempor <a href="https://en.wikipedia.org/wiki/Radio-controlled_glider">incididunt ut labore et</a> dolore magna aliqua. Ut enim ad minim veniam, quis nostrud exercitation ullamco laboris nisi ut aliquip ex ea commodo consequat. Duis aute irure dolor in reprehenderit in voluptate velit esse cillum dolore eu fugiat nulla pariatur. Excepteur sint occaecat cupidatat non proident, sunt in culpa qui officia deserunt mollit anim id est laborum.
    </p>
  </div>
</div>
Repeat the same process for the remaining sections.
To put two cards in a single row, we are going to use flexbox in CSS.
.row {
  width: 100%;
  display: flex;
}
But since we only want this to happen on desktop and tablets only, we are going to utilize media queries.
@media (min-width: 48em) {
  .row {
    width: 100%;
    display: flex;
  }
}
To put some space between the cards, add some margin.
@media (min-width: 48em) {
  .row {
    width: 100%;
    display: flex;
  }
  .card {
    margin-left:20px;
  }
}
Results
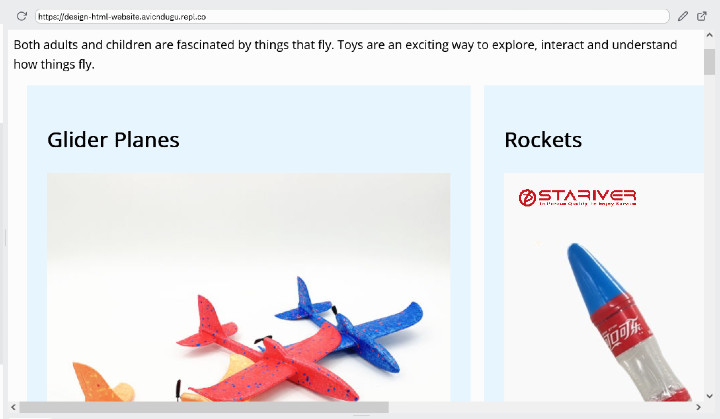
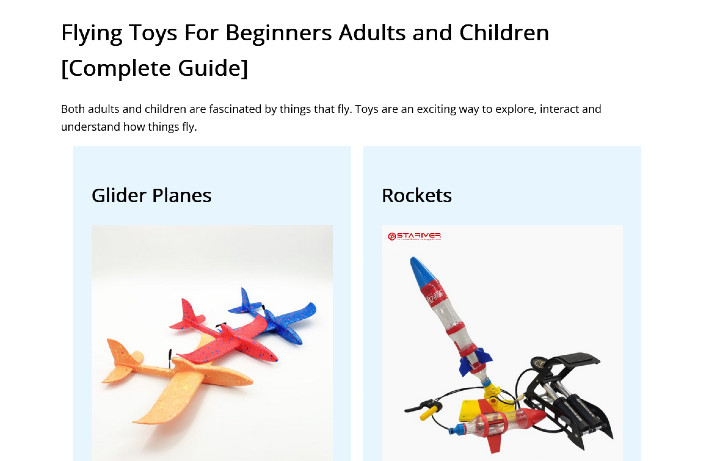
As you can see, the two cards are in one row.
Unfortunately, the cards are overflowing the screen. You have to scroll to the right to see the second card. This is caused by the images. Stop this behaviour by setting the width of images to 100%.
img {
  width: 100%;
}
Results
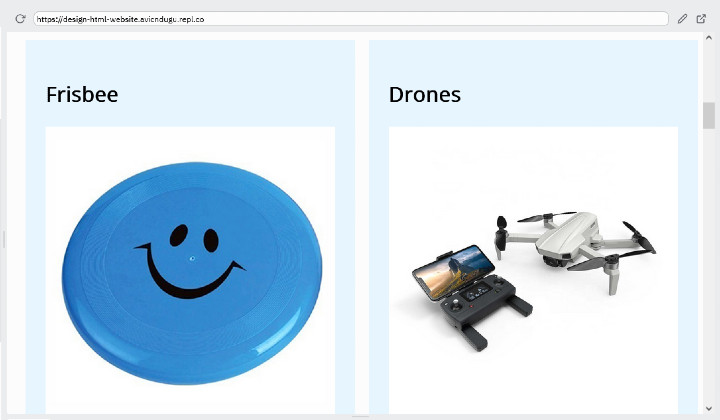
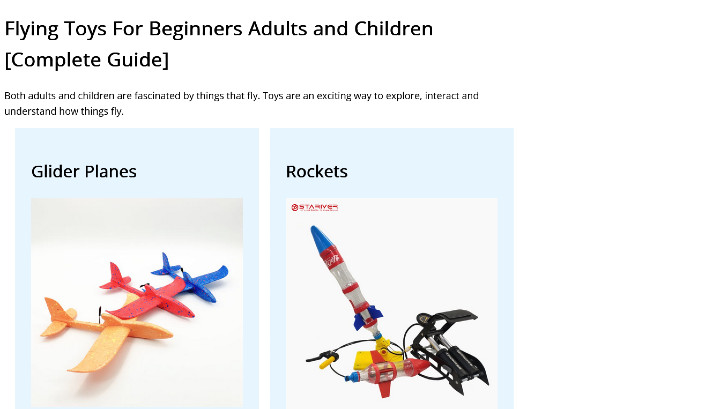
On bigger screens(desktop and tablet), the cards stretches wider than you would like them to be. So, set a maximum width for the whole web page.
Start by wrapping the whole website with main tags.
HTML Code
<body>
  <main>
    <!-- Website Content should be placed inside here -->
  </main>
</body>
Then, add the CSS code. CSS Code
@media (min-width: 48em) {
  main {
    max-width: 950px;
  }
}
Results
Then, you are going to center the web page.
@media (min-width: 48em) {
  main {
    max-width: 950px;
    margin: 0 auto;
  }
}
Results
Conclusion
You have created just designed your first HTML web page. Your journey has just begun.
If you are looking to add more customization, you can learn more CSS, or learn to use CSS libraries like Bulma or Bootstrap.
You can also discover all the methods of making websites

